How to Disable System Integrity Protection (SIP) on Mac?
Tutorials • February 7, 2020
As a Mac user, we are not allowed to access the built-in system by using any third-party software. This is because of the Mac High Sierra (macOS 10.13) requirement. Therefore, you need to disable the SIP on your Mac OS system before you can recover lost data by using the Bitwar Data Recovery Software for Mac!

Disabling the System Integrity System Protection will not harm your Mac OS, and the steps are straightforward. So don’t worry about reformatting or damaging your Mac after disabling the SIP on your Mac.
Follow the tutorial below and we will show you the steps on how to disable the System Integrity Protection on Mac OS for free!
Table of Contents
Steps to Disable System Integrity Protection on Mac OS
Step 1. Reboot Mac Device.
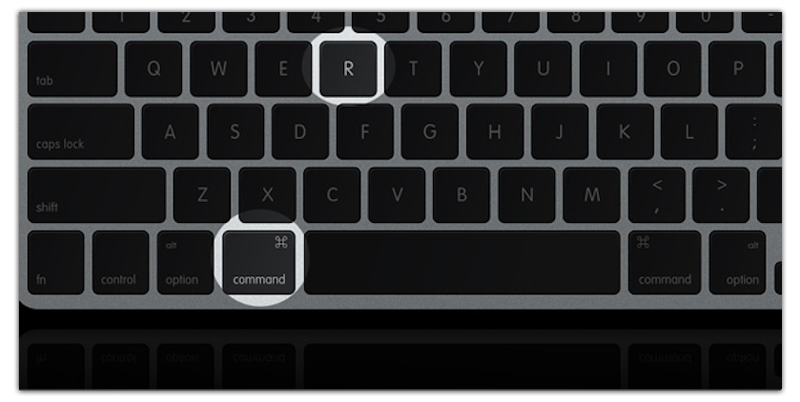
Step 2. Boot Mac into MacOS Recovery Mode.
Please hold the Command + R button at the same time and choose boot to Recovery Mode.
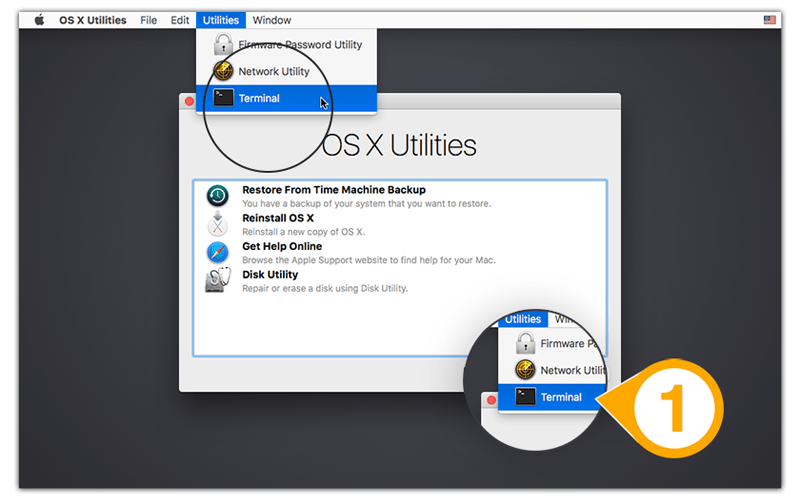
Step 3. Run the Terminal App.
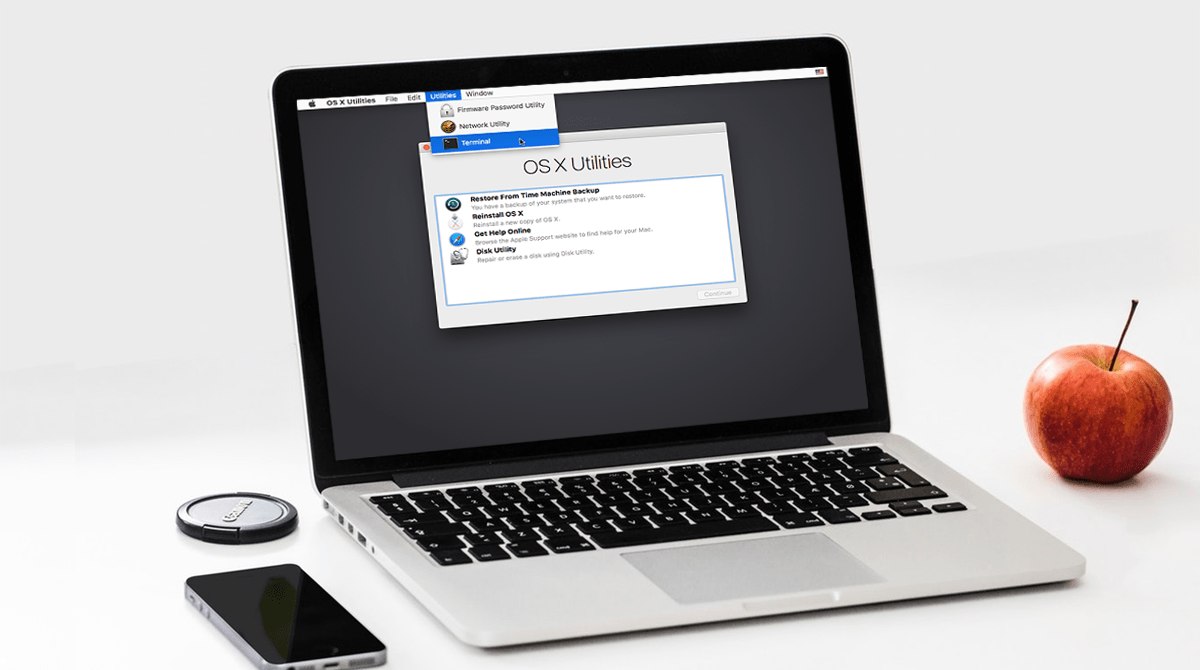
At the MacOS Utilities Menu, choose Utilities and Terminal.
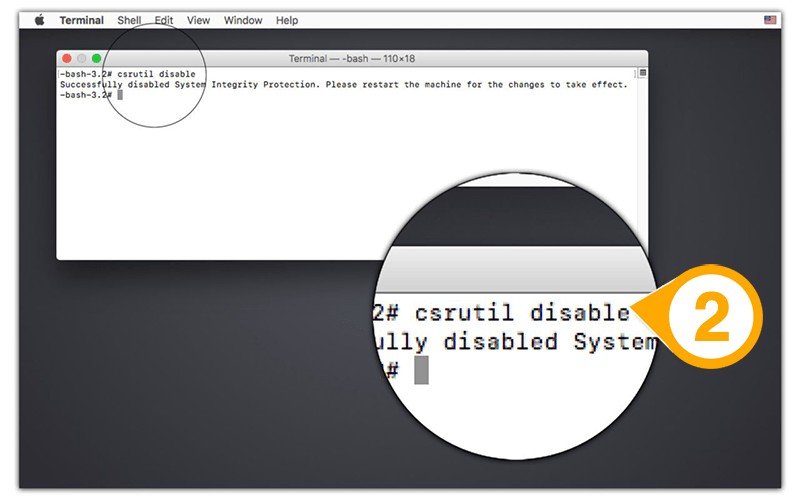
Step 4. Disable the file System Integrity Protection.
In the window of command line, key in csrutil disable. Then, press Return.
Step 5. Restart Mac Device.
Restart your Mac OS and launch Bitwar Data Recovery Software for Mac.
That’s How it Done!
By disabling the System Integrity Protection (SIP), you can start to scan and recover lost data from Mac by using Bitwar Data Recovery Software for Mac. After you had successfully recover your data, please remember to enable the SIP again to ensure the security and protection of your Mac device. All you need to do is enter csrutil enable in the command window at the fourth step of the tutorial above.
If you need further assistance or technical help, please feel free to contact our customer service at our official homepage as we are happy to solve all your needs!


Michael says: